


Best Keratin Treatment To Do At Home
Keratin treatments for hair were once the exclusive domain of salon-goers, offering up straight and silky-smooth locks for a high price. But luckily for anyone who’s a fan of keeping it DIY, there are now plenty of at-home keratin treatments to choose from. But if you’re spending money on a treatment dedicating to changing your hair’s tone and texture, you’re better off not just randomly choosing something based on its packaging or branding. Read on to hear about the 5 best at home keratin treatments to do at home by yourself, along with tips and tricks to help you through the process.
1Lasio Keratin Treatment – One Day Formula
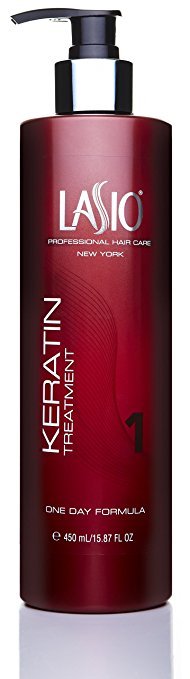
Lasio Keratin Treatment‘s one-day formula is a salon-quality product that lives up to its name. Using this product at home is cheaper than going to a salon, but it’s still one of the most expensive products on our list. If you can afford Lasio, it’s definitely worth your money. This keratin smoothing treatment gives incredibly straight results that last at least 3 months, even on the most stubborn strands.
Unlike some keratin treatments that require you to be careful with your hair for several days afterwards, Lasio allows you to wash and style your hair the following day. This makes the process much more friendly towards busy professional women or anyone on the go who’s looking to make their hairstyling routine easier in the long term. Keep in mind that this 15 oz bottle is enough for several treatments, and beginners may not want to invest this much money in a first-time keratin treatment.
How to use: Shampoo hair using a clarifying shampoo, repeating multiple times on virgin hair to remove product and oil buildup. After the shampoo is rinsed, blow dry your hair until it is completely dry. Apply Lasio Keratin Treatment to sections of hair, massaging in with hands if needed and combing through to evenly distribute. Once hair is saturated, blow dry hair fully (without rinsing the product out), taking care to keep the dryer at least 4 inches away from the hair. After hair is 100% dried, begin flat ironing with a 450F iron. Keep tension on hair as you go, and iron in 3-inch sections, repeating each section at least 7 times. Use this process to straighten your entire head. Now that you’ve finished straightening, leave your hair alone for 24 hours. Don’t tie it up, braid it, or manipulate it during this time. After 24 hours is up, you can wash with a shampoo that’s free of sodium chloride (like from Lasio’s Hypersilk line), follow with conditioner, and your treatment is complete!
Pros:
- Strong formula works on even the coarsest hair.
- Long-lasting (3 months or more).
- Can wash after 24 hours (some keratin treatments require 3 days before you can wash)
Cons:
- Cost
- Doesn’t come in small size
- Must use sodium chloride-free products afterwards.
2Trissola Solo Keratin Hair Treatment

For a salon-quality keratin treatment at a surprisingly affordable price, Trissola Solo has become a favorite among DIY hair divas who are concerned about their budgets and their health. This is a formaldehyde-free formula that lasts up to three months, gently adding softness and shine without permanently altering the hair like stronger formaldehyde containing product. This product is available in both 1.7 oz and 16.7 oz bottles. Most will require 2-6 oz for a single treatment, so be sure to purchase more than one small bottle unless you have very short hair.
How to use: Thoroughly wash hair with a clarifying shampoo, then towel dry hair to remove excess moisture. Divide hair into sections, pinning up higher sections to begin working from the bottom. Apply Trissola Solo to each section of hair, taking care not to apply directly to the scalp, and comb through to distribute evenly. Repeat with the remaining sections of your hair, then allow to process for 20-60 minutes depending on if your hair is heavily processed (20 minutes), fine (30-40), medium (40-50), or coarse and style resistant (up to 60). Rinse with warm water, followed by shampoo and a hydrating conditioner. Rinse hair again, then blow dry using high heat until 100% dry, using tension and a brush to create a straight blowout. Finally, straighten your hair using a hot iron (390F fine hair, 410F medium hair, 450F coarse hair). Work with thin sections of hair and clamp down firmly to achieve maximum results.
Pros:
- Low cost, even if you have to buy multiple small bottles.
- Formaldehyde-free.
- Quick processing time.
Cons:
- Doesn’t last as long on particularly coarse hair.
3Peter Coppola Keratin Smoothing Treatment Kit
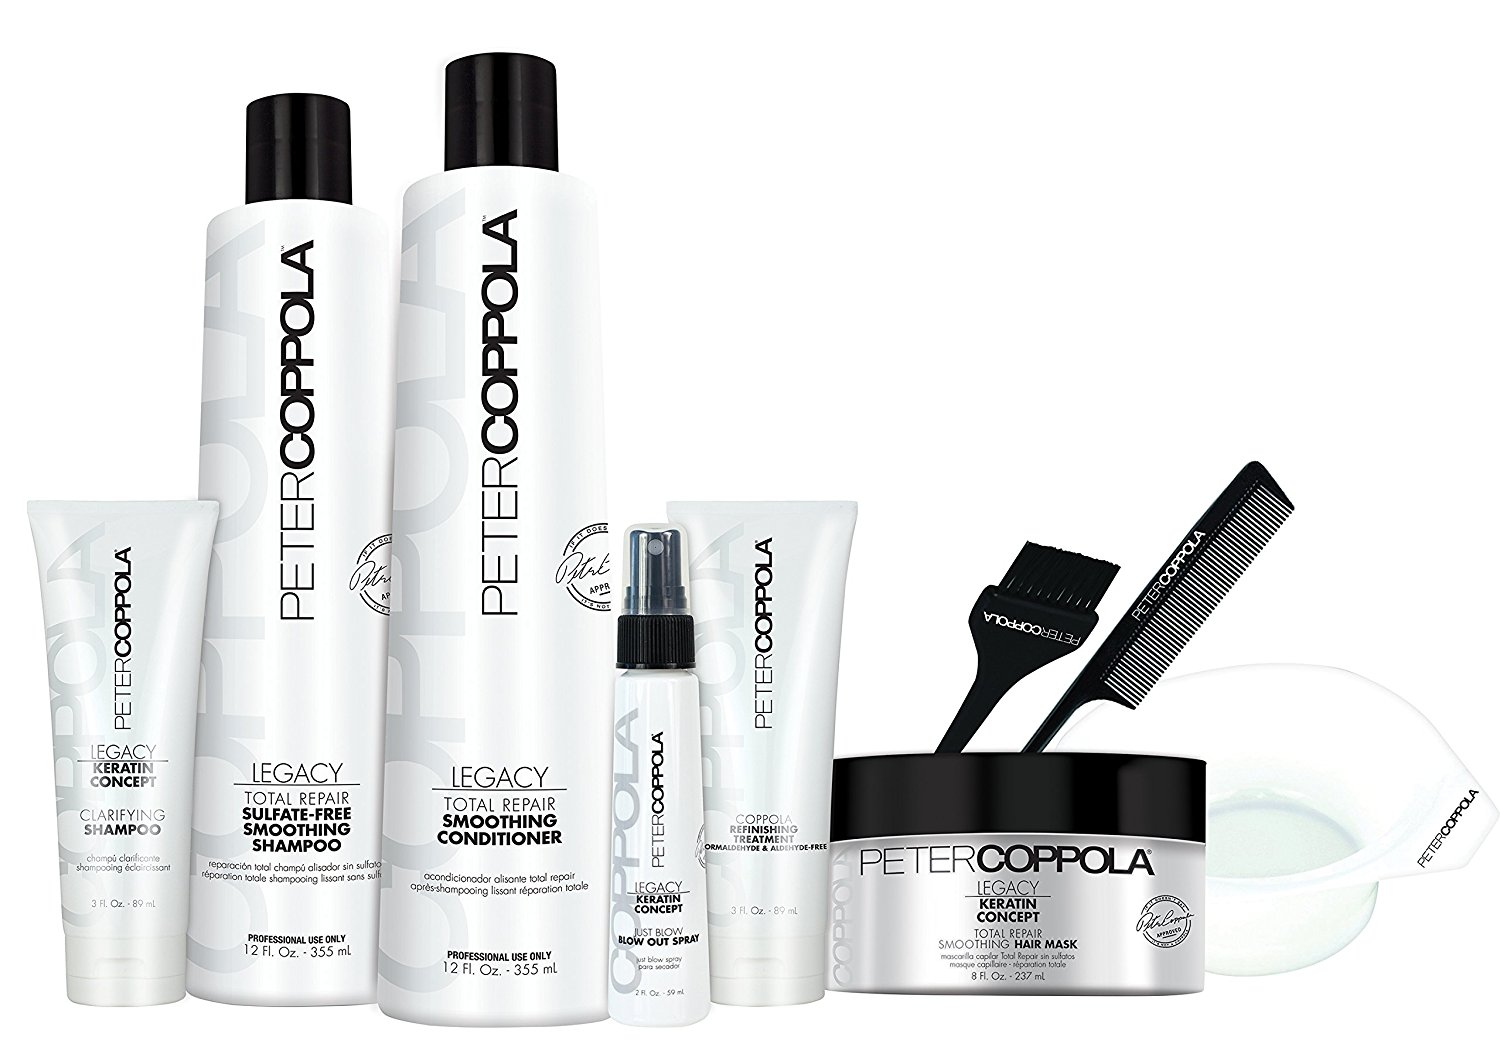
The keratin smoothing kit from Peter Coppola contains everything you need to get a salon-quality style at home, including clarifying shampoo, blow out spray, repair mask, and tools like a tint brush and mixing bowl. This keratin treatment gets high marks from women with a variety of hair textures. Women with fine but frizzy hair appreciate that it doesn’t overwhelm their fragile strands, while those with thick curls find it strong enough to create much smoother hair that lasts for months. Despite the good results from this keratin treatment, it’s free of formaldehyde and other aldehydes (some products claim to be formaldehyde-free while still containing similar chemicals that come with the same dangers).
How to use: Begin by washing your hair with the clarifying shampoo that comes with this kit, then towel dry hair until about 70% dry. Divide hair into 4 sections, and begin working with lower sections first. Squeeze some of the Refinishing Treatment into your mixing bowl. How much you’ll need depends on your hair length and thickness. Very long, thick hair could require up to 6 oz, while a shoulder-length cut will need more like 2 oz. Use the tint brush to apply treatment to hair evenly, combing through to distribute product, and remove excess as you go. Repeat on all sections of your hair, applying product near scalp while trying not to slather it on your skin.
Once hair is saturated, you’ll need to leave this treatment to process for about 20-50 minutes. Hair that has recently been bleached, heavily processed or shows signs of damage should process for only 20 minutes, while 50 might be needed for thick, coarse, curly hair that hasn’t been bleached or relaxed. After processing, fully rinse the product out of your hair. Blow dry hair using a round or paddle brush to pull hair straight as you go. After hair is completely dry, flat iron hair straight to seal in your straight style.
Pros:
- Salon-quality
- Formaldehyde and aldehyde free
- Relatively quick process
Cons:
- Cost
4Keratin Research Forte+
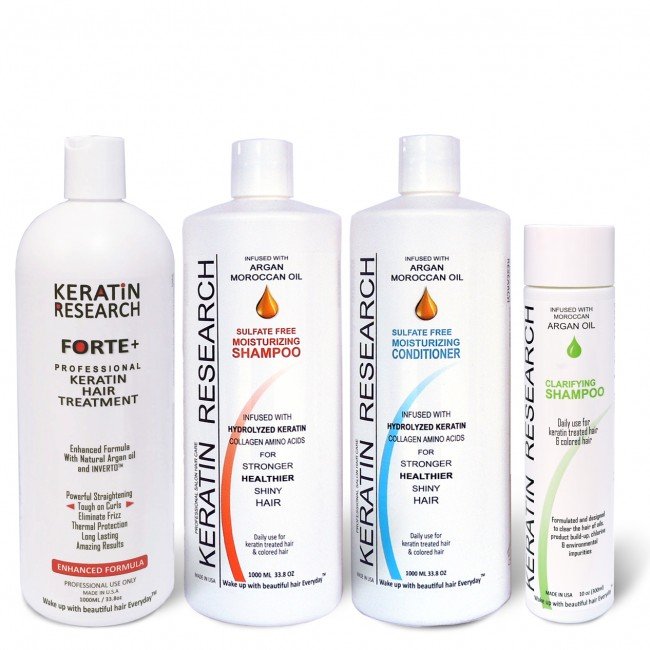
The strongest formula on our list, Keratin Research Forte+ is a true Brazilian Blowout product. This hair treatment does contain some formaldehyde but achieves incredibly straight and silky results that last for 6 months or longer. Although not an express formula that’s meant to be rinsed out right away, Forte+ only needs a day to sit in your hair, which is a step up from formulas that require 3 days. You can purchase a kit complete with 33 oz of treatment and all the shampoos and conditioner you need, or go for a smaller bottle of just the treatment if you’re on a tighter budget.
How to use: Wash your hair with the provided clarifying shampoo, repeating two or three times if necessary. After washing (no conditioner), blow dry your hair until 100% dry. Section your hair, and apply the keratin treatment using a tint brush, combing through to saturate your strands and remove extra product. After hair is thoroughly saturated, blow dry your hair until it’s completely dry. This step will produce fumes, and you should work in a well-ventilated area or wear a mask. After hair is completely dry, begin ironing your hair with a 450F flat iron. Iron each section multiple times, being sure not to miss any pieces. This step will also produce fumes, so keep your fan on and your mask handy. After hair is straightened, wait one day, taking care to let your hair hang as straight as possible. After 24 hours, wash with the moisture shampoo, condition, and you’ll be left with incredibly straight and silky hair.
Pros:
- Longest lasting (6 months or longer)
- Very straight results
Cons:
- Product contains formaldehyde
- Fumes during process
- Cost
5Keratin Complex Express Blowout Smoothing Treatment
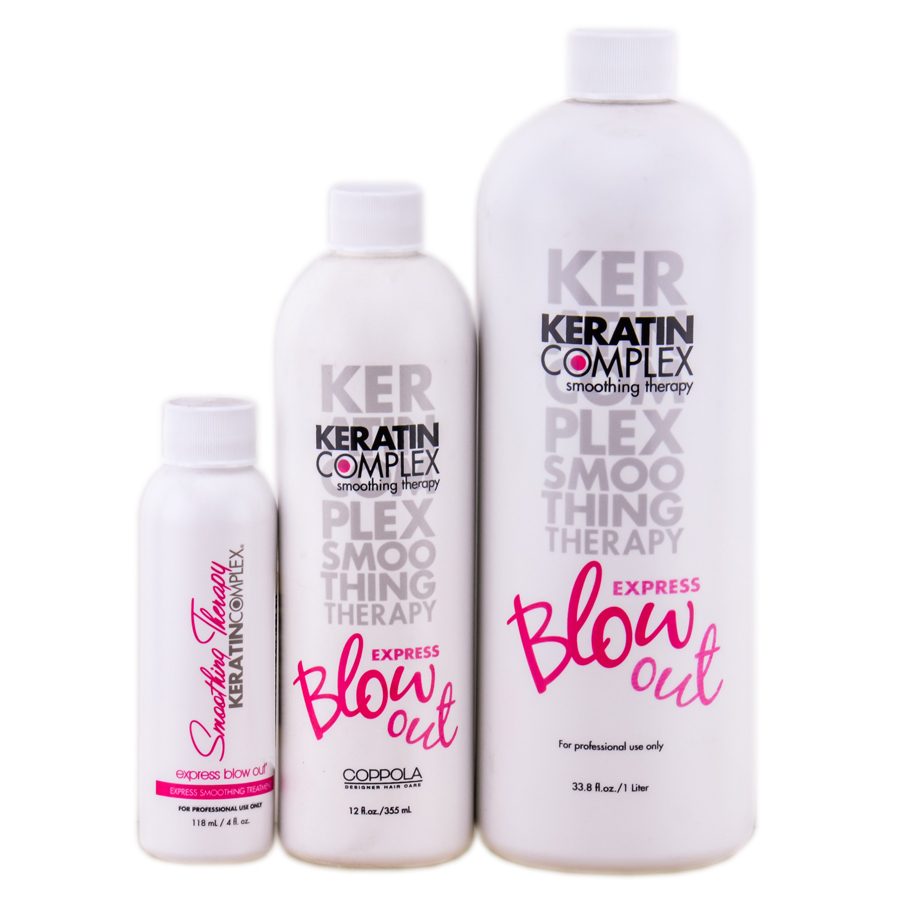
Keratin Complex’s Express Blowout offers up a great in-between product that will give you smooth results without an incredibly high price. The active ingredient here is glyoxylic acid, meaning the express blowout is less concerning chemical wise. It has the power to smooth your hair for about 6 weeks, but won’t actually straighten out curls. This is a good choice for anyone who’s looking to tame a little frizz without completely restructuring their hair the next 6 months.
How to use: Pour your express blowout into a bowl to sit for 15 minutes before you use it, and use this time to wash your hair with a clarifying shampoo. After you’ve finished washing (don’t condition), towel dry your hair until it’s about 80% dry. Section your hair, then use a tint brush to apply Express Blowout to your slightly damp strands, stopping about 1/8″ away from your scalp. Use a comb to distribute the product and remove excess. Repeat until your whole head is saturated (but not dripping).
Next, blow dry your hair until it’s 100% dry, using a paddle or round brush to help create shape. After hair is completely dry, use a flat iron to straighten hair in thin sections. Pass over each section several times, ensuring the product is sealed in properly. Use a comb as you flat iron to help keep hair smooth and even. Once flat ironing is complete, leave your hair unwashed and dry for 8 hours, don’t use clips or manipulate your hair in any way during this waiting period. After the time is up, you can wash and condition hair using products that don’t contain sodium chloride, and your treatment is complete!
Pros:
- Salon quality at a reasonable price
- 8 hour waiting period
- Formaldehyde-free
Cons:
- Smooths but won’t completely straighten curls
- Only lasts for 6 weeks
6Amazonliss Keratin Smoothing Treatment Hair Straightening
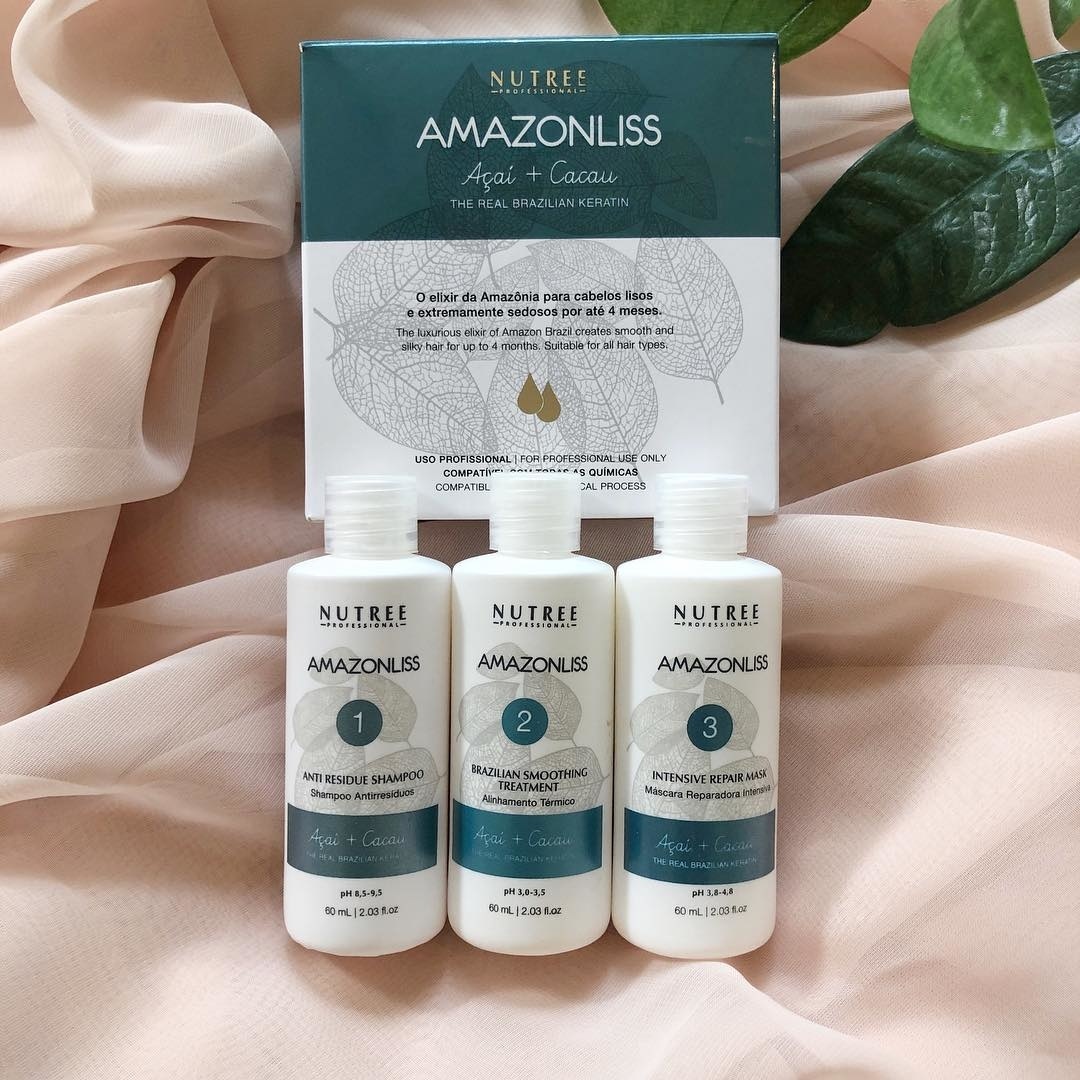
The Amazonliss Keratin Smoothing Treatment set is a Brazilian made product and its active ingredients include Acai and Cocoa which are so beneficial for smoothing, hydrating and restoring damaged hair. This set has long durability of up to 16 weeks and is great for both straight and curly hair types.
How to use:
- Deep clean your hair with the Amazonliss Antiresidu shampoo.
- Wash your hair and then use a hair mask and gloves to section your hair and apply the #2 Brazilian Smoothing Treatment on your hair.
- Blow dry your hair and then use a flat iron once the hair is completely dry.
- Rinse the hair after about 3-4 hours and use Brazilian Intensive Repair Mask.
Pros:
- Can last up to 16 weeks
- Add shine, smoothes, and hydrates the hair
- Great for using at home or a professional salon
- Can be used on color-treated hair and curly hair
Cons:
- Could be necessary to repeat the treatment twice for better results.
7What is Keratin treatment?
Keratin treatment involves a chemical process that breaks down your hair’s structure in order to turn frizzy or curly hair into strands that are silky and straight. Once the keratin solution is applied to your hair for a specific length of time, hair is blow-dried and flat-ironed to seal in the treatment and re-shape the hair. This can result in smoother hair for anywhere from a few days to several months, depending on your hair type and the treatment used.
Keratin is the protein that forms our hair and nails, and animal horns and hooves are also made from it. These treatments get their name not because they contain keratin, but because their aim is to restructure the keratin in your hair. Although keratin treatments were once considered concerning due to the potentially dangerous chemical formaldehyde, there are now many formaldehyde-free versions that can help you get smoother strands without worry. Those products that do contain formaldehyde are often in low concentrations that aren’t necessarily harmful to the person receiving the treatment but are more concerning for salon professionals who may perform several treatments each week.
8How long does a Keratin treatment last?

The lifespan of your keratin treatment depends on several factors.
- Salon quality treatments use the strongest ingredients and tend to last longer than anything you can buy at a drug store.
- Keratin treatments require different processing times, with some even suggesting you wait for several days afterward before washing or styling your hair. Ignoring these directions will affect how long your keratin treatment lasts for.
- Ingredients also matter. Although formaldehyde containing treatments can pose a potential health concern, they have a powerful straightening effect on hair.
- Formaldehyde-free treatments that use glyoxylic acid usually last up to two months, and create a general smoothing effect but can’t turn curly hair straight. Drug store brand at-home treatments usually just create a silicone barrier to keep hair smooth, and results will only last until your next wash.
9Are there any side effects to a keratin treatment?
If you’re using a keratin treatment that contains strong chemicals like formaldehyde, leaving the product on for too long can damage your hair. For this reason, it’s best to use these strong formulas with extreme caution or in a salon setting. And whether you’re at a salon or your own home, be sure to use keratin treatments in a well-ventilated area. Any product that causes a chemical reaction to your hair will let off fumes that can irritate your respiratory tract, which can be anywhere from annoying to dangerous if you’ve got a chronic condition like asthma.
10How to do keratin treatment at home – Steps
Supplies
- Keratin treatment product. Pay attention to volume. Some solutions come in very small bottles and you might need to purchase multiples.
- Clarifying shampoo
- Straightening iron
- Blow dryer
- Mask
- Gloves
- Tint brush
11Keratin Treatment At Home – The Steps
- Wash your hair with a clarifying shampoo to remove any traces of oil buildup and product from your hair. Be thorough, as you may need to go without washing for several days after your treatment. After you’ve rinsed your hair, DO NOT apply conditioner.
- Clarifying shampoo followed with no conditioner will leave your hair tangled. Gently detangle your hair using a wide-tooth comb, but do not apply any product.
- Thoroughly blow dry your hair until completely, 100% dry, and brush through hair until free of knots. (Refer to your treatment’s specific instructions, as some products are meant to be applied to damp hair.)
- Divide hair into sections, then apply keratin treatment using a brush. Coat sections with treatment, but don’t apply so much that it’s dripping off of your hair. Excess product can be combed out.
- Depending on your specific product, you may need to leave your keratin treatment in for a specific length of time to process. This is usually between 10 to 50 minutes, but you should consult with the brand you choose.
- In some keratin treatments are meant to be rinsed out after processing. Rinse at this point if your treatment advises, otherwise leave your treatment in and proceed to the next step.
- Blow dry your hair using medium heat. If you’re using a product that contains formaldehyde or other strong chemicals, wear a mask and work in a well-ventilated area.
- Wait 15 minutes after drying to ensure hair is completely dry, then seal in keratin using a flat iron heated to at least 400 degrees. Depending on the product you used, a mask and ventilation should also be used at this part of the treatment. This step is important to do slowly and methodically, as you’re sealing the treatment onto your hair.
- After straightening, your keratin treatment is complete. Be sure to pay attention the specific instructions about shampooing your hair afterwards. Some treatments suggest you wait up to 3 days after to shampoo, which allows the treatment to have more effect. If your hair does get wet during this period, dry and straighten it with a flat iron ASAP.
- Your hair may feel sticky and lifeless if there’s a wait period between treatment and shampooing and may get bent out of shape when you sleep. Re-ironing in the morning will help to re-set your style.
- After the waiting period, wash your hair and shampoo with a sulfate-free product to reveal your final keratin smoothing style!
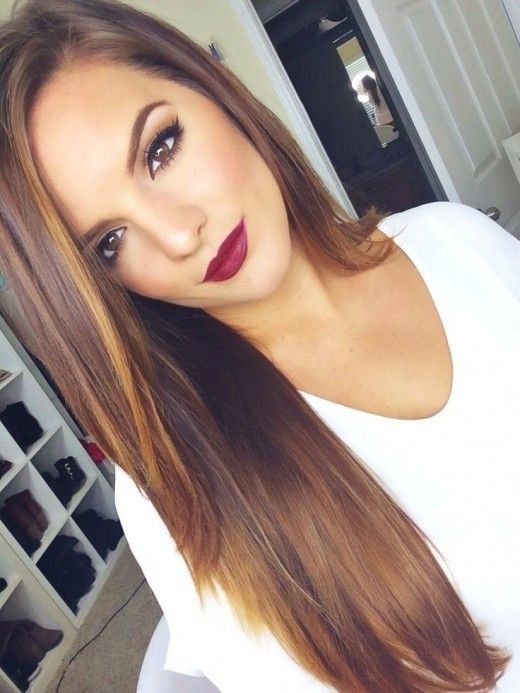
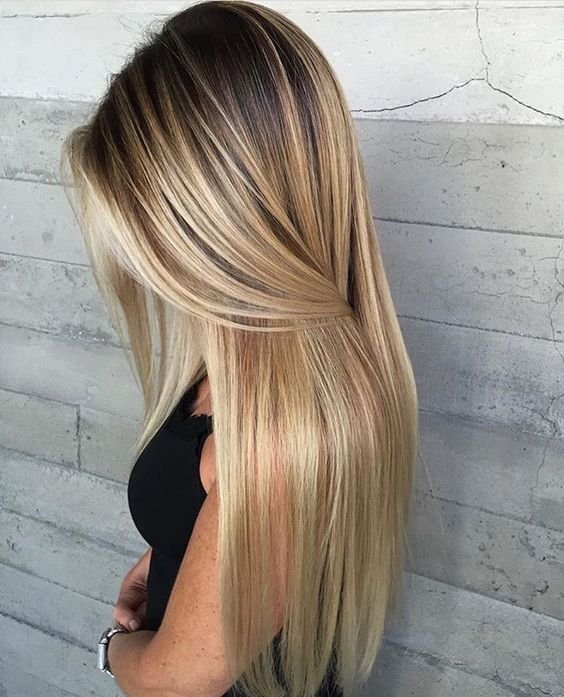
12Before and After Keratin Treatments
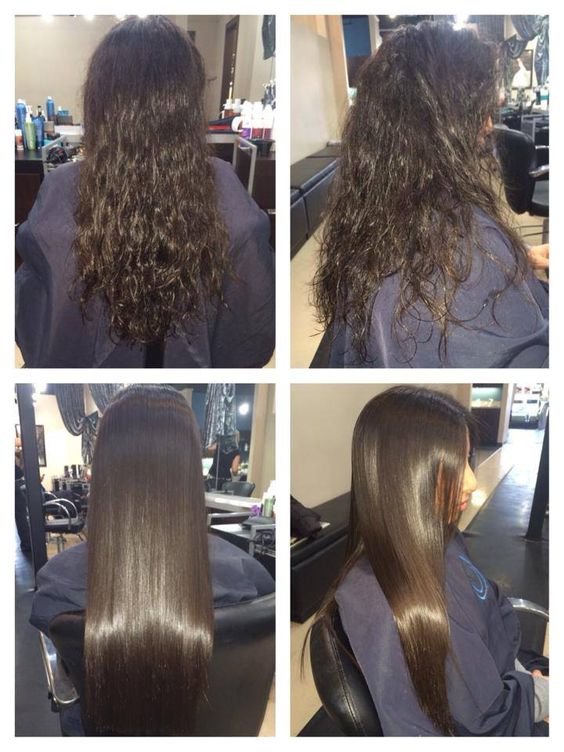
Hair with a natural curl pattern can be difficult to control. Longer styles can become more difficult to detangle and style while keeping frizz to a minimum. There are tons of gorgeous curly styles all over the internet, but natural texture can be tough to style if you haven’t been blessed with a perfectly even curl pattern.
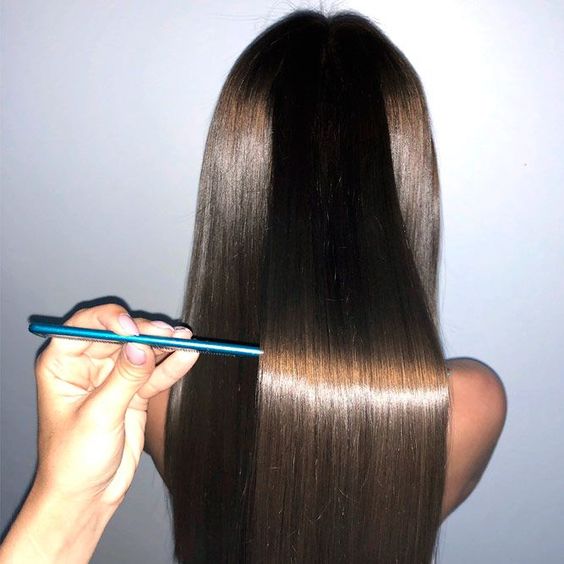
13Silky Ginger Strands Post Keratin Treatment
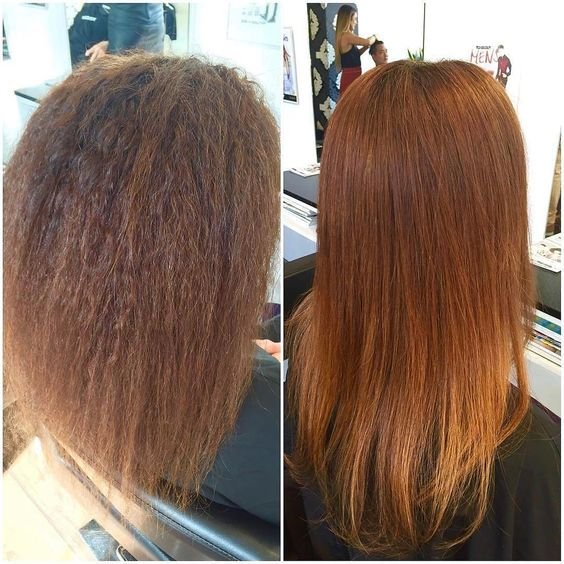
If your hair tends to be in a state of perpetual frizz, a keratin smoothing treatment can bring you gorgeous texture and save time on daily styling.
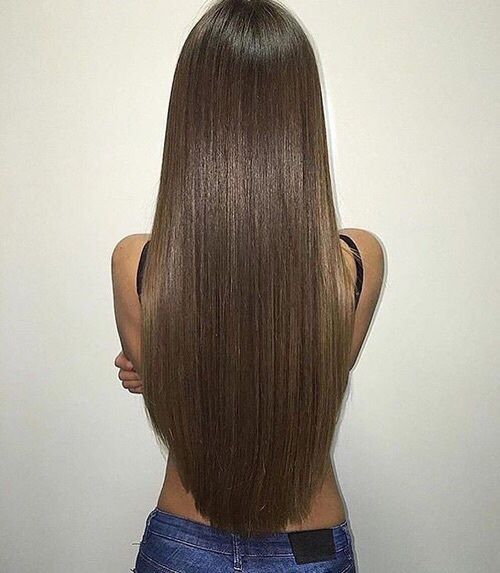
14Half and Half Keratin Treatment
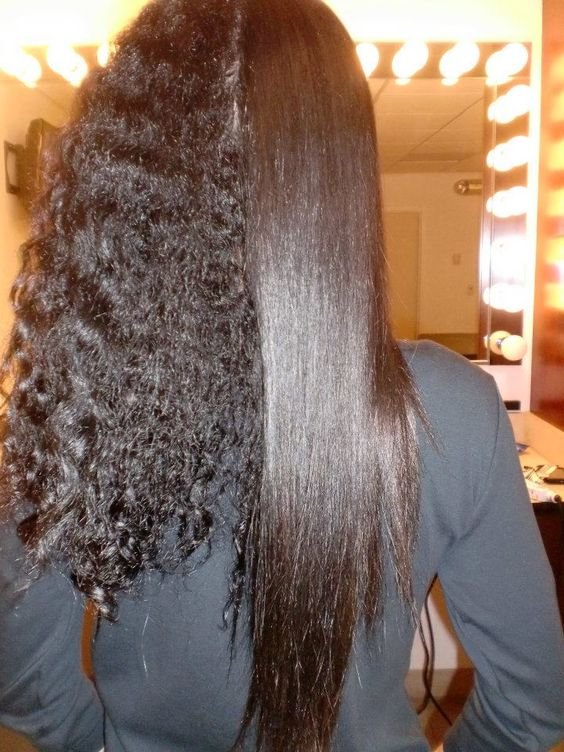
This halfway point shows the dramatic effect of a keratin treatment on naturally textured hair.
15How to maintain and style your hair after a keratin treatment at home

- Once it’s time to wash your hair, be sure to use a shampoo that doesn’t contain sulfates or sodium chloride, depending on your specific treatment. These agents can strip the treatment from your hair, quickly undoing your silky results. If in doubt, check that sodium lauryl/Laureth sulfate is NOT listed on the ingredients. For specific recommendations, check out our list of shampoos for keratin treated hair.
- No matter which shampoo you’re using, washing hair less often will help extend the life of your keratin treatment. If your hair tends to look greasy one day post-wash, try a product like dry shampoo to get at least one extra day between washes.
- Deep conditioning is a good idea after a keratin treatment. Even if you’re using a gentler formula, all that flat ironing can be tough on your ends.
- Skip the swimming pool. Chlorine is harsh on hair and will undo some of your treatment. Once in a while is OK, but frequent swimmers might find that a keratin treatment isn’t worth the time and effort.
- Styling your hair should be much easier after a keratin treatment, with blowdrying creating the same results that used to require tons of time and effort.
- Product use depends on the individual, but you’ll probably find you need much less after a keratin treatment. Light serums to maintain shine are usually a good idea, along with products that can nourish dry ends.
- If you’re thinking about coloring your hair, do it at least a week after a keratin treatment. Not only does keratin adhere better to hair that hasn’t been recently dyed, but it may alter the shade of freshly colored hair.


