


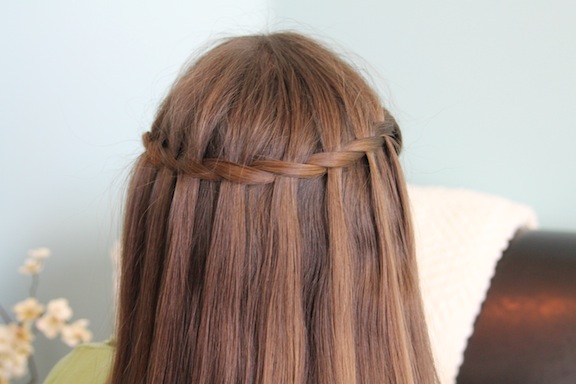
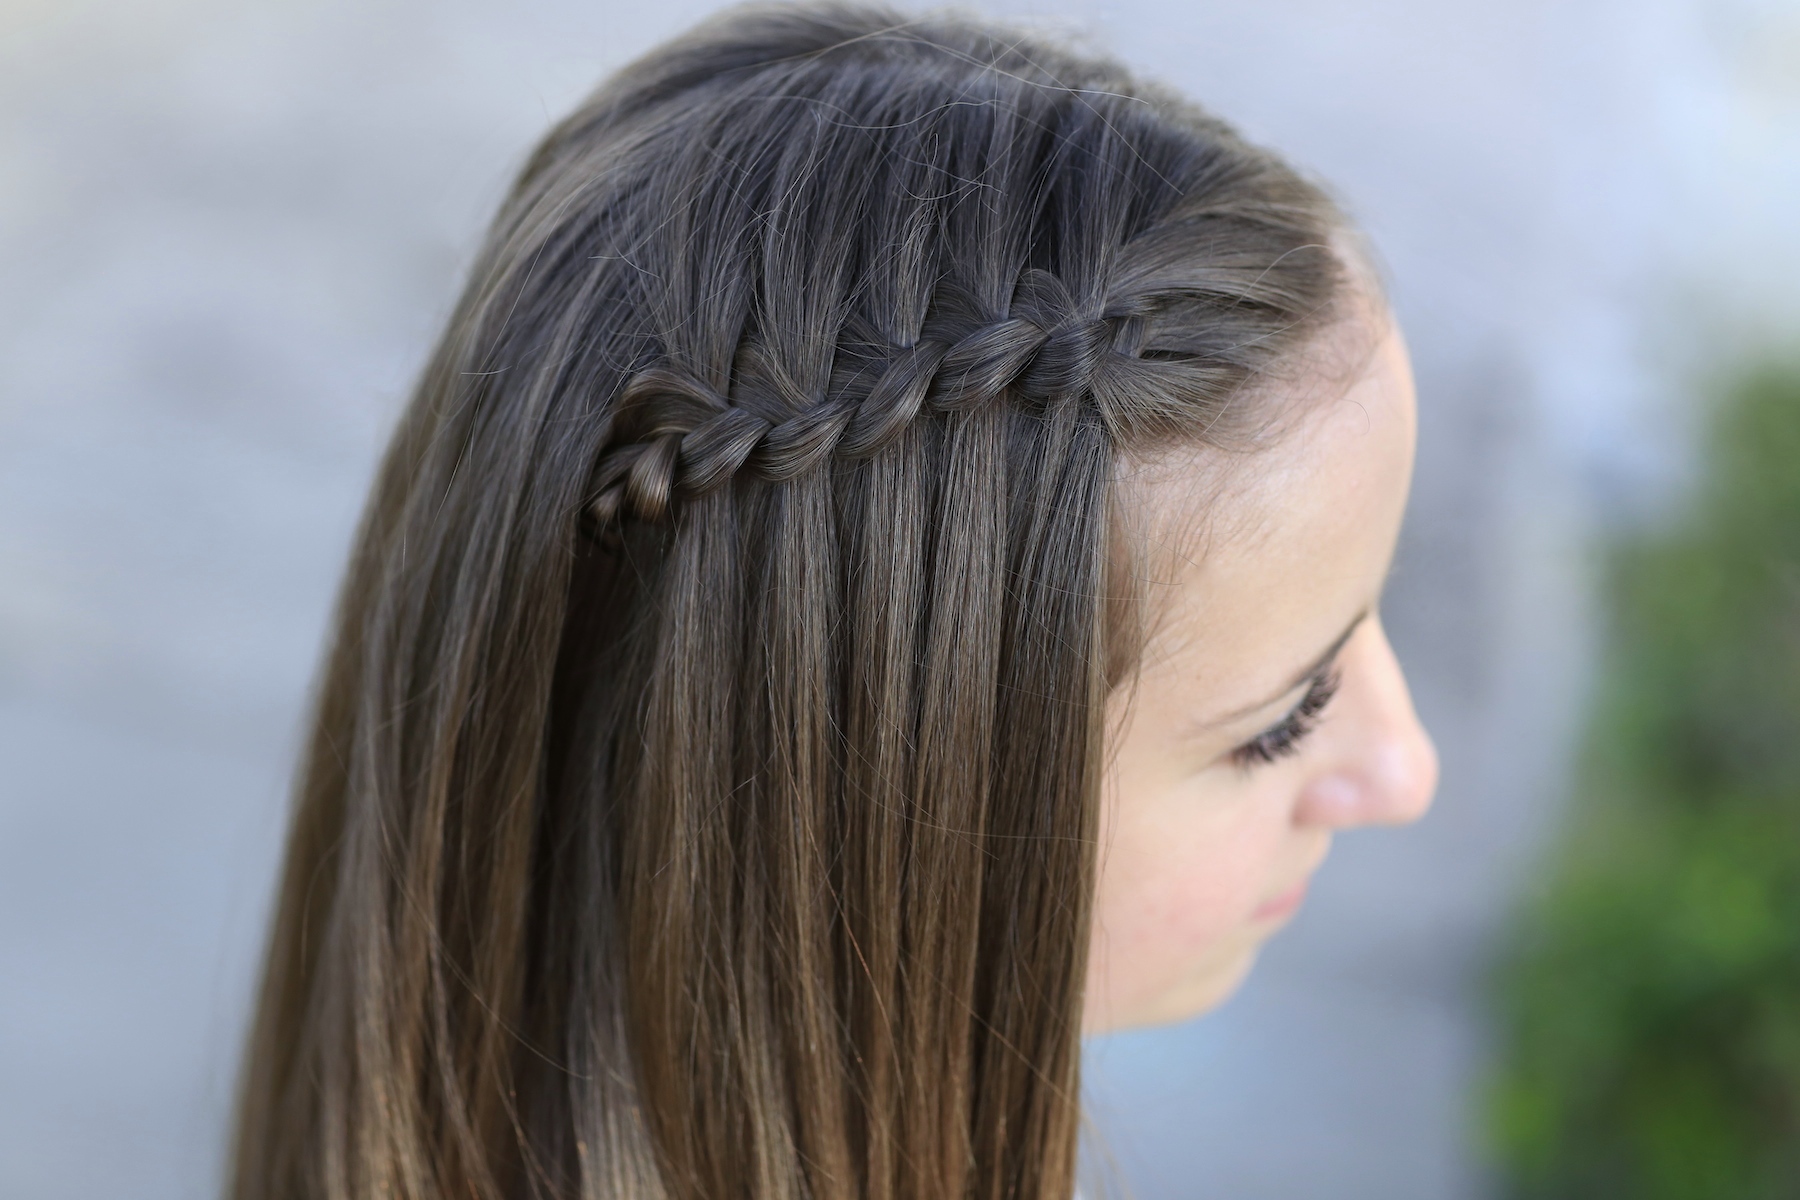
How To Do A Waterfall Braid
If you’re looking for a new braiding style that will have people asking how you did it, but isn’t too hard to do on your own hair, let us introduce you to the waterfall braid. This dreamy style creates a braid that’s attached to the head like a french braid, but also features loose tendrils flowing from the braid. How to waterfall braid? To create a waterfall braid, divide the section you’re beginning with into three equal pieces, and begin braiding using the french braiding technique. Cross the upper piece of hair (whichever is closest to your part) over the braid into the middle, then cross the lower piece over the braid into the middle. On your next stitch pick up and add some hair to the upper piece of hair as you cross it into the middle, then cross the lower piece over and into the middle, adding some hair into this piece at the same time. On your third stitch (or whenever you’d like to begin the waterfall effect) cross the upper piece over as you’ve been doing. But this time, instead of crossing the lower piece over into the middle of the braid, drop this section of hair and pick up a new piece from directly behind it to cross over into the middle of the braid. The piece you dropped will be left trailing out of the braid, creating a waterfall effect that begins to take shape once the braid is further along. Continue repeating this last stitch for as long as you’d like your braid to have a waterfall effect. If you need some more inspiration, take a look at our favorite waterfall braid styles!
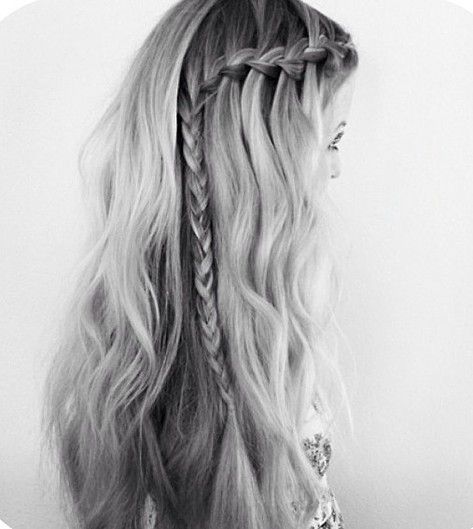
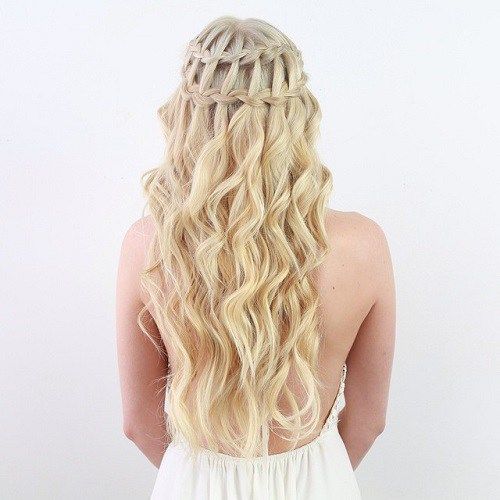
1Waterfall Braid With Ultra Long Locks
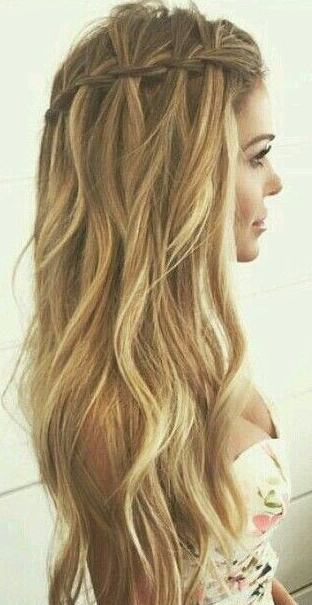
This waterfall braid creates a simple headband across this ultra long hair, and doesn’t take any longer than a french or dutch braid.
2Two Strand Waterfall
To make a two strand waterfall braid, begin with only two strands of hair, twisting one section over the other. Pick up a section of hair from the top of the braid, but instead of adding it in, slip it through your two twisted pieces, and drop to create the waterfall. Continue on using this technique, never adding pieces into the braid, but simply weaving them through your two strand twist.
3Bridal Waterfall Braid
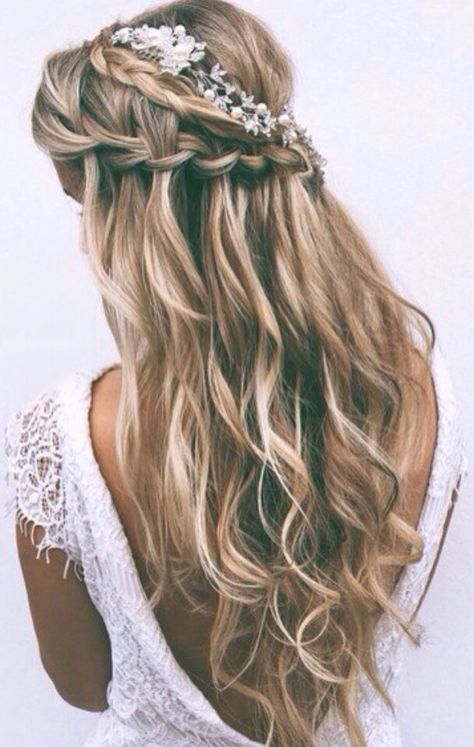
Perfect for any bride with long locks and a bohemian chic style, this look uses a waterfall braid and a regular three strand braid to create a halo effect. Accessorize with a flower garland or crown of ivy to complete the forest fresh look.
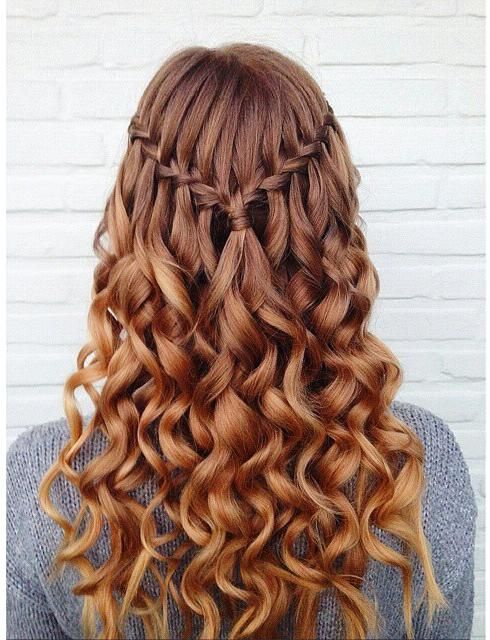
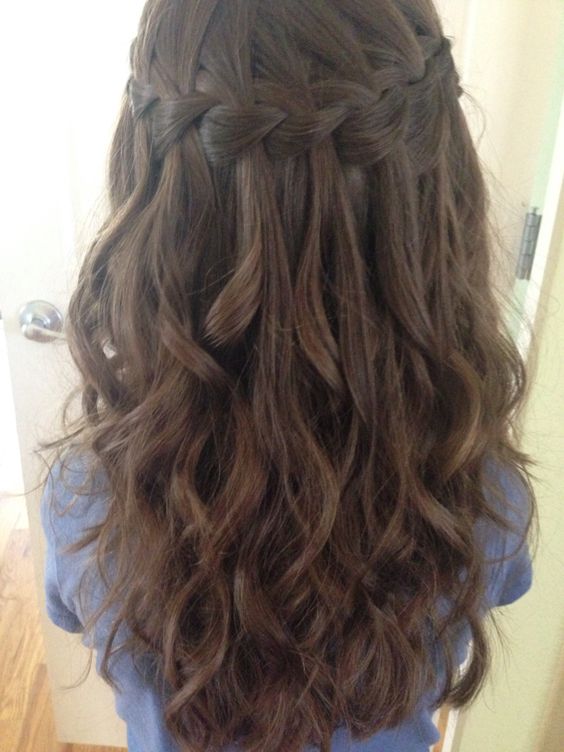
4Thick Waterfall Braid

To make more of a statement with your waterfall braid, use thicker strands to create a pronounced waterfall, and curl hair in deep ringlets afterwards.
5Angled Waterfall Braid

This waterfall features a more diagonal shape, continuing all the way down the neck instead of stopping in the middle of the back of the head. To hold the braid in place at the end, you can tie it off with a clear elastic or pin in place.
6Waterfall Headband
To get this headband braid, create a waterfall braid beginning at each temple, and tie them together where they meet at the back of the head.
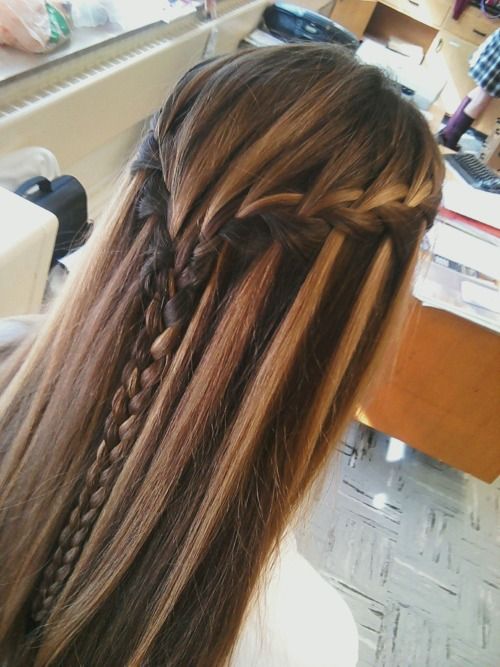
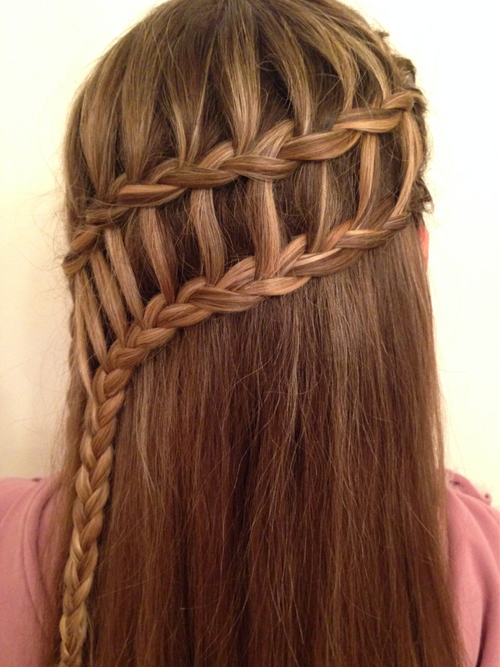
7Waterfall With Trailing Braid
Instead of finishing your waterfall at the back of the head and pinning it in place, this look continues braiding down the hair using a simple three-strand technique. Try this style if you’re looking for a waterfall that will stay in place during busy days, or for anyone with finely textured hair that’s difficult to keep in place using pins alone.
8Waterfall Braid With Flower Bun
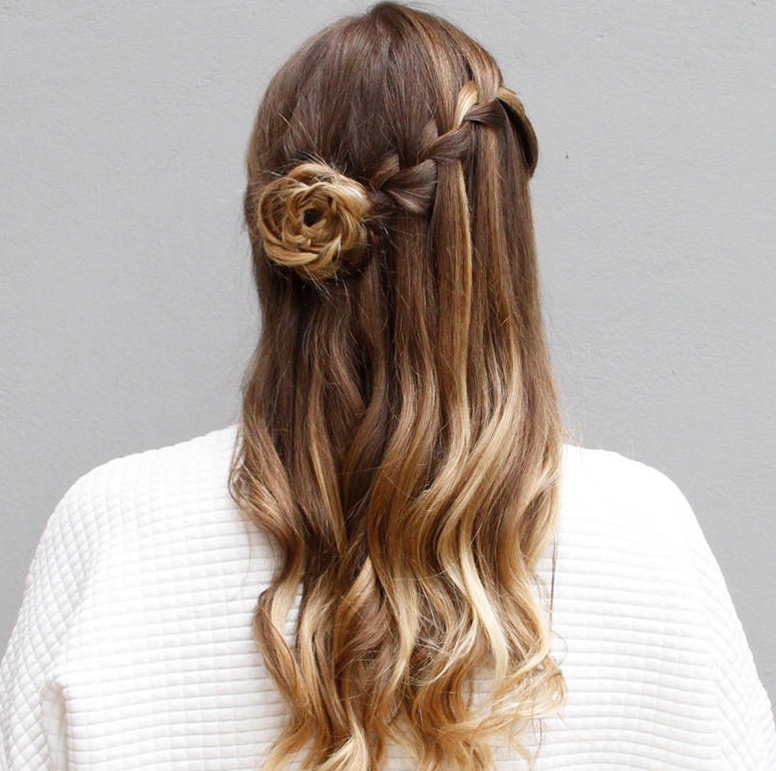
Create a waterfall braid ending either at the back of the head or off to the side, and tie off with an elastic. Braid the trailing hair in a simple three-strand braid, then pick up this braid and gently roll it into a spiral shape to create the pictured flower, pinning in place once you’ve got the desired shape.
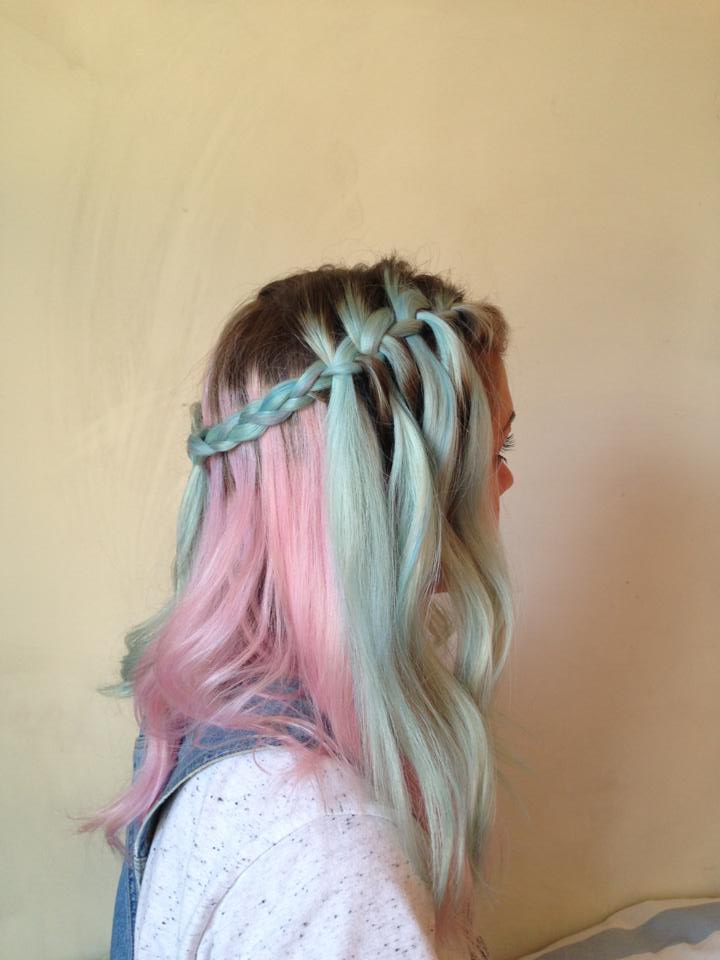
9Rainbow Waterfall
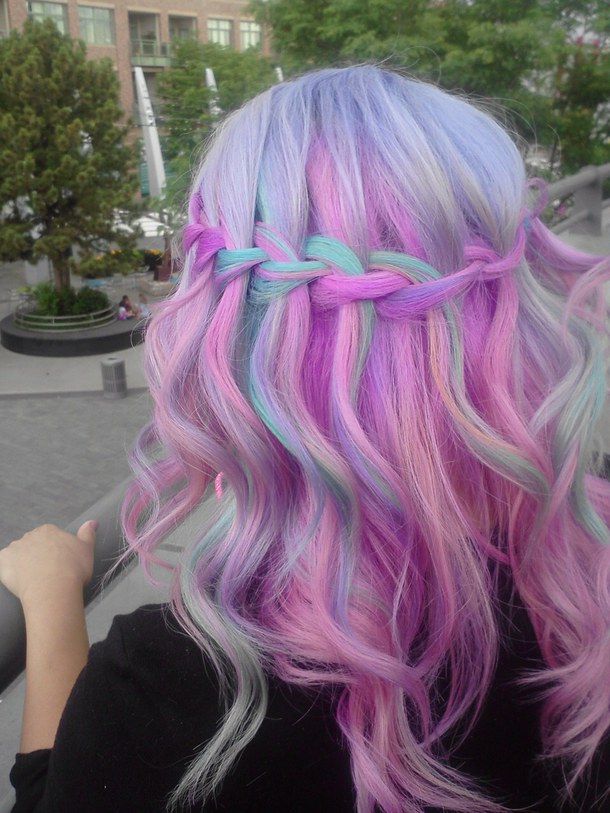
The waterfall technique is great for showing off hair with layered or multidimensional color like this pastel rainbow hair.
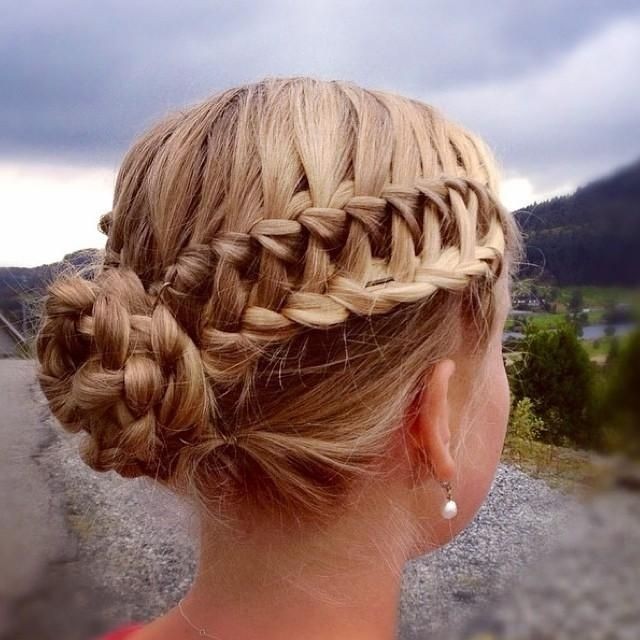
10Waterfall Braid Bun

To get this waterfall style, you’ll want to begin a braid near the top of the head, braiding down towards one ear as you go. Use the regular waterfall technique, but drop the section of hair towards where your bun will be, and keep these pieces secure with a clip as you go. Once the braid is finished, unclip the pieces of hair you dropped from the braid, and gather them up with the rest of your hair, tying it together in your favorite bun or ponytail.
11Waterfall Braided Lob

Waterfall braids work for shorter hair, too! This braided headband looks just as good on a bob as it does with super long hair.
12Wrap Around Waterfall
To make your waterfall braid wrap all the way around your head, continue braiding around the back of the head and towards the opposite temple. Once you’ve finished, you can tie off with an elastic to secure the braid or continue with a simple three strand braid down to the ends.
13Double Waterfall Braid
This double waterfall style looks impressive, but isn’t much more complicated than a single style. Once you’ve got your first waterfall completed, begin a second braid right underneath where the first one began. Where you reach the step where you’d pick up hair to add to the braid, use the pieces that were dropped from the first braid. Drop pieces from the bottom of the second braid as you normally would, and the end result will be two connected waterfall braids.
14Waterfall Headband
If you want to add some extra braid into your waterfall headband style, combine the ends of each waterfall together, and braid down to the ends using a simple braiding technique.
15Double Waterfall Updo
Use the double waterfall technique described in style 13, then tie hair in a ponytail at the back of the head. Braid this ponytail down to the ends, then wrap it around to form a bun and pin into place.
16Braided Waterfalls
Once you’ve finished a two-strand waterfall style, braid each dropped piece using a simple three-strand technique to get this fun, hippie-inspired style.
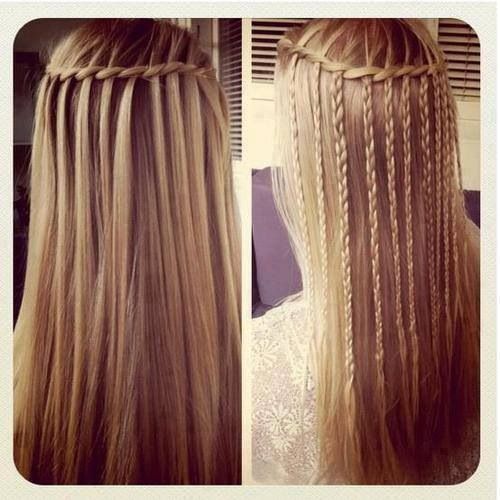
17Ladder Braid
To get this modified style, begin by braiding one classic waterfall braid. Create your second braid underneath this braid, picking up the dropped sections from the first braid to add to the hair. Continue on in this method, but do not drop any sections from the bottom of your second braid. The end result is two connected braids with no waterfall sections falling from the second braid.
18Fishtail Waterfall
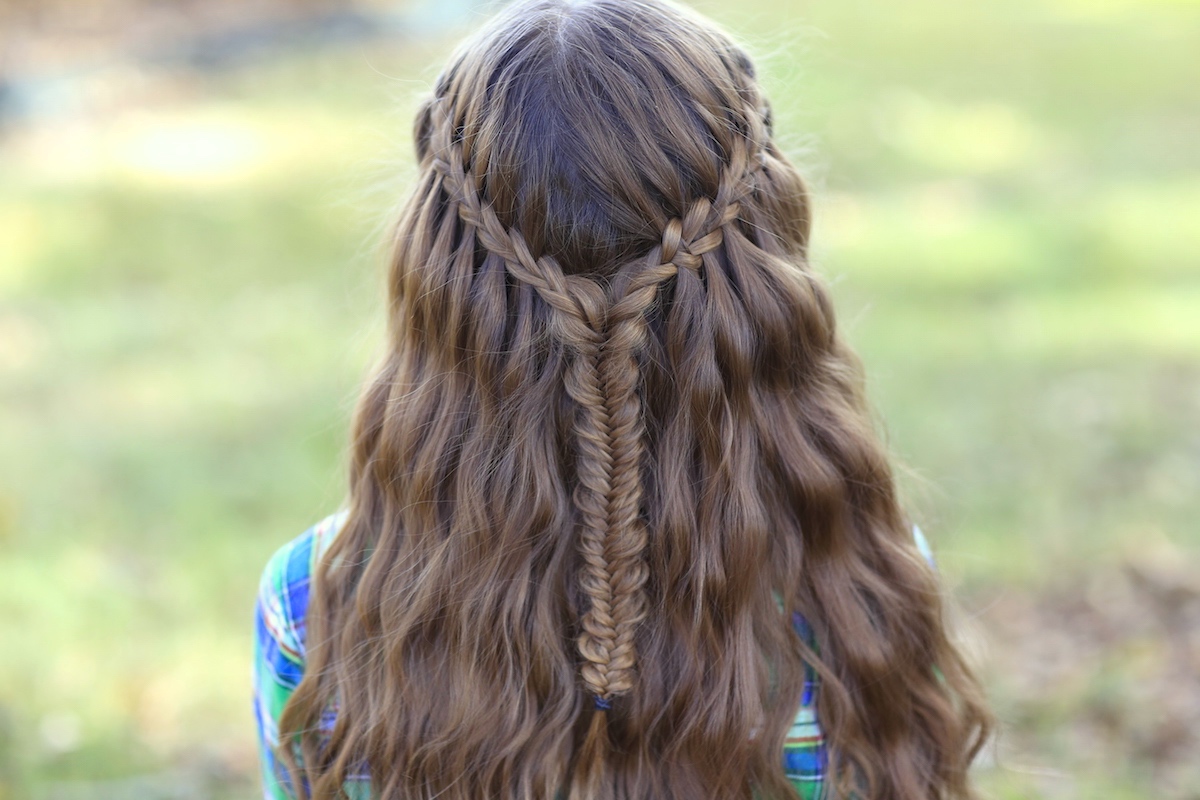
Create a waterfall braided headband, combining the ends of each braid together at the back of the head. Braid a simple fishtail with these two combined ends, and you’ve got this cute combination style!
19Partial Waterfall
If you have trouble doing a waterfall technique all the way around your head, this style is for you! This style drops a few waterfall sections, then continues on using a simple braiding technique.
20Waterfall Mermaid

This style starts with a simple waterfall headband. Once you’ve gathered the ends at the back of the head, braid a three-strand braid, adding the dropped waterfall sections into this braid from inside to out.
21Baby’s Breath Braid
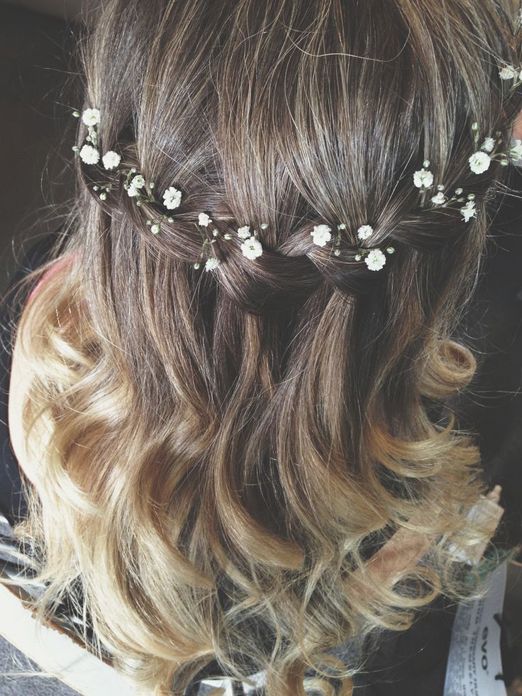
Perfect for a simple bridal style, this wrap around waterfall headband is intertwined with delicate baby’s breath.
22Modified Ladder

Create a two stand waterfall at the top of your hair, then braid the rest of hair into a low french braid, picking up all loose hair as you go.
23Fancy Waterfall

To add an extra layer of braid, make one thin three strand braid near the front of your head, then use this braid as a piece of hair for your waterfall braid.
24Violet Waterfall
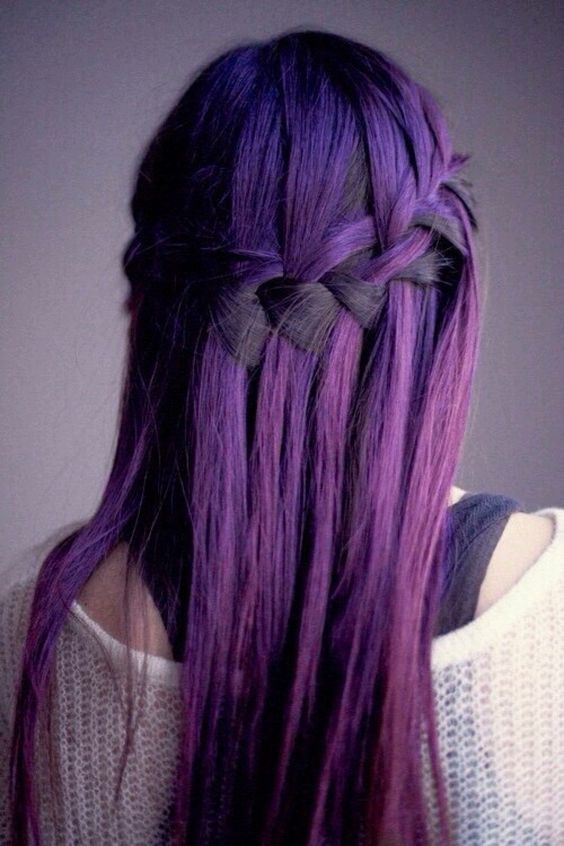
Adding romance to any ultra bright or unnatural hair color, we’re particularly in love with a waterfall braid on this violet shade.
25Four Strand Waterfall Braid
If you’re ready for some next level braiding, this four strand waterfall braid puts a more complicated spin on the style while maintaining a similar look. Begin by dividing a section of hair on the left side of your head into four strands. Take the strand on the far right side and cross it underneath the strand next to it, then overtop of the strand next to that, and finally underneath the far left strand. Next take the middle two strands, and cross the left strand over the right strand. Pick up the far right strand, and cross it underneath the strand next to it, picking up some loose hair to add into it, then cross it over the top of the next strand, and underneath the far left strand. When you bring the far left strand over the top, pick up a section of hair and add it into this piece. The strand that is now on the far left will be the first waterfall strand. Cross the middle piece over the one on the left, and you’re set to begin the cycle again, picking up a new piece of hair to replace the far left strand that was previously dropped.


